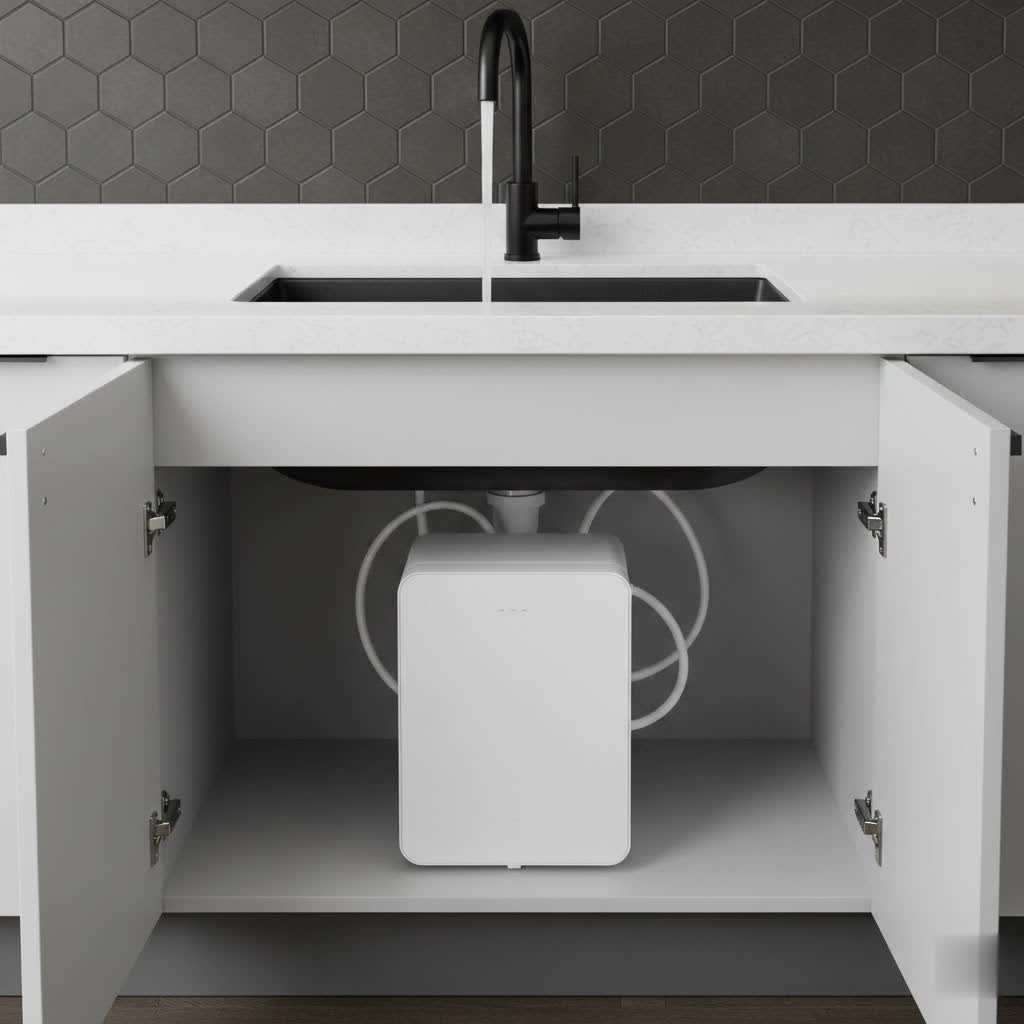
Experiencing a mere trickle from your reverse osmosis (RO) faucet instead of a steady stream can be incredibly frustrating. A reliable RO water purifier is essential for clean, refreshing drinking water, and when its flow diminishes, it impacts everything from filling a glass to cooking. This common issue often signals a problem within your RO water purification system that, fortunately, is usually fixable with a bit of troubleshooting. This comprehensive guide will walk you through the most frequent culprits behind low RO faucet water pressure and provide step-by-step solutions to restore your system to optimal performance.
Understanding Your RO System: Key Components Affecting Water Pressure
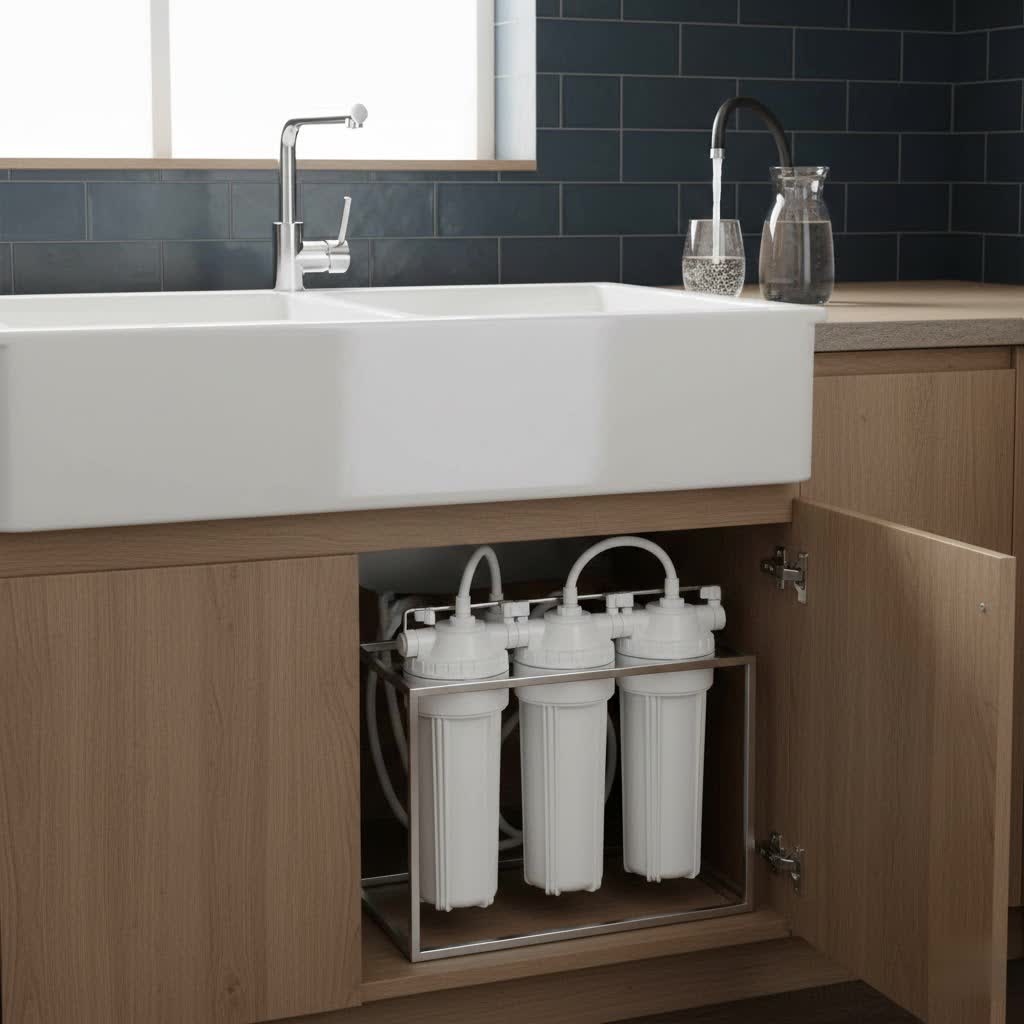
Before diving into troubleshooting, it’s helpful to understand the main components of your reverse osmosis water purifier that influence water pressure and flow. An RO system typically consists of several stages: pre-filters (sediment and carbon), the RO membrane, a storage tank, a post-filter, and the RO faucet itself. Each component plays a vital role, and a malfunction in any one can lead to reduced water flow. For instance, the pre-filters remove larger particles and chlorine, protecting the delicate RO membrane, which is responsible for the finest filtration. The storage tank collects purified water and uses air pressure to push it to the faucet, while the post-filter gives the water a final polish before it reaches your glass.
Common Causes of Low Water Pressure from Your RO Faucet
Low water pressure from your RO faucet can stem from several factors, ranging from simple maintenance oversights to component failures. Identifying the root cause is the first step toward a solution. Here are the most common reasons you might be experiencing a weak flow:
Clogged Filters (Sediment, Carbon, or Post-filters)
|
Our Picks for the Best Water purifier in 2026
As an Amazon Associate I earn from qualifying purchases.
|
||
| Num | Product | Action |
|---|---|---|
| 1 | Brita UltraMax Large Water Dispenser with Standard Filter, BPA-Free, Reduces Copper, Cadmium and Mercury Impurities, Lasts 2 Months or 40 Gallons, 27-Cup |

|
| 2 | LifeStraw Personal Water Filter for Hiking, Camping, Travel, and Emergency Preparedness |
|
| 3 | Brita Large Water Filter Pitcher for Tap and Drinking Water, Includes 1 Standard Filter, BPA-Free, Lasts Two Months, 10-Cup Capacity, Bright White |
|
| 4 | PUR Plus Vertical Faucet-Mount Water Filtration System, Lead-Reducing Filter, Easy Installation, 100-Gallon Capacity, Compatible with External Aerators, Grey |
|
| 5 | DREO Reverse Osmosis Water Filter Countertop, RO Filtration System, 3:1 Pure to Drain, TDS & Filter Life & Autofill Pitcher, Installation-Free, Self-Cleaning Water Purifier, RO Water Filter |
|
| 6 | PUR 30-Cup Countertop Water Filter Dispenser, 1 Genuine PUR Filter, 2-in-1 Powerful Filtration, Lasts 2 Months or 40 Gallons, Dishwasher Safe, White/Blue (DS1800Z) |
|
| 7 | Brita 27 Cup Water Filter Dispenser with Elite Filter, NSF Certified to Remove 99% of Lead, Reduces 30 Contaminants Including Microplastics, Mercury & Chlorine, SmartLight Indicator, BPA-Free, Black |
|
| 8 | Brita Metro Water Filter Pitcher with SmartLight Change Indicator, BPA-Free, Replaces 1,800 Plastic Water Bottles a Year, Lasts Two Months, Includes 1 Filter, Small - 6-Cup Capacity, White |
|
| 9 | Waterdrop G3P600 Reverse Osmosis System, 8 Stage Tankless Reverse Osmosis Water Filter, NSF/ANSI 42 & 53 & 58 & 372 Certified, Under Sink RO System, 2:1 Pure to Drain, Smart LED Faucet |
|
| 10 | Bluevua RO100ROPOT Countertop Reverse Osmosis Water Filter System, Portable RO Filtration with Remineralization, No Installation, WQA Certified - ROPOT-UV, 6-Stage RO |
|
The most frequent cause of diminished water pressure in an RO system is clogged filters. Over time, sediment filters accumulate dirt and particles, and carbon filters absorb chlorine and organic compounds. As these filters become saturated, they restrict water flow, leading to a noticeable drop in pressure at the faucet. Your post-filter can also become clogged, further impeding the final flow. Regular replacement according to the manufacturer’s recommendations is crucial for maintaining proper flow and filtration efficiency.
Clogged RO Membrane
The RO membrane is the heart of your water purifier, responsible for removing microscopic contaminants. However, it can also become fouled or clogged over time, especially if the pre-filters aren’t changed regularly. A clogged membrane will significantly reduce the rate at which water is purified and stored in the tank, ultimately resulting in low pressure at your RO faucet. While pre-filters are typically changed every 6-12 months, RO membranes usually last 2-5 years, depending on water quality and usage.
Low Pressure in the Storage Tank
Your RO system’s storage tank isn’t just a reservoir; it contains an air bladder that uses pressure to push purified water to your faucet. If the air pressure in this bladder drops, the tank won’t be able to effectively dispense water, leading to a weak stream that quickly diminishes after a short pour. A ruptured bladder within the tank is another, more severe issue that would also cause low pressure. This would mean the tank cannot maintain air pressure at all, requiring a replacement.
Kinked or Obstructed Tubing
The various tubes and lines connecting the components of your RO system are essential for water flow. A kink in any of these lines, especially the one leading from the storage tank to the faucet, can severely restrict water pressure. Similarly, any internal obstruction or blockage within the tubing can mimic a clogged filter, reducing the overall flow.
Faulty Automatic Shut-Off (ASO) Valve
The ASO valve is designed to shut off the incoming water supply to the RO membrane once the storage tank is full, preventing wastewater. If this valve malfunctions and gets stuck in a partially closed position, it can restrict water flow into the storage tank, causing it to fill slowly or not completely, which in turn leads to low pressure at the faucet.
Low Incoming Water Pressure
An RO system requires a certain amount of incoming water pressure (typically 40-60 PSI) to operate effectively. If the water pressure entering your home or specifically your RO system is too low, the entire purification process will slow down, and the storage tank may not fill adequately. This can result in consistently low pressure at your RO faucet. In some cases, a booster pump might be necessary to increase the pressure to optimal levels.
Clogged RO Faucet or Flow Restrictor
Sometimes, the problem isn’t with the RO system itself but with the faucet. Mineral deposits can build up in the faucet’s aerator or spout, restricting water flow. Additionally, RO faucets often have a small flow restrictor or an internal component that can become partially clogged, leading to reduced pressure.
Step-by-Step Troubleshooting Guide to Fix Low RO Faucet Pressure
Addressing low RO faucet pressure involves systematically checking each potential culprit. Follow these steps to diagnose and resolve the issue:
1. Replace Clogged Filters
Start with the easiest and most common fix: replacing your pre-filters (sediment and carbon) and your post-filter.
- Turn off water supply: Locate the cold water line valve supplying your RO system and turn it off. Also, close the valve on top of the RO storage tank.
- Drain the system: Open your RO faucet to relieve any remaining pressure and drain the system.
- Remove old filters: Unscrew the filter housings using the wrench provided with your system. Carefully remove and discard the old filters.
- Install new filters: Insert new filters, ensuring they are correctly seated. Screw the housings back on tightly, but do not overtighten.
- Restore water supply: Slowly open the cold water supply valve and then the storage tank valve. Check for leaks.
- Flush the system: Allow the system to fill and then flush it by letting the RO faucet run for several minutes (as per manufacturer instructions) to remove air and carbon fines.
- Check pressure: After flushing, close the faucet and allow the tank to refill completely (this can take 2-4 hours). Then, test the water pressure at the faucet.
2. Check and Recharge the Storage Tank
If new filters don’t resolve the issue, the storage tank is the next place to investigate.
- Turn off water supply: Close the incoming cold water supply valve to the RO system and the valve on the top of the storage tank.
- Drain the tank: Open the RO faucet to completely drain all water from the storage tank until the flow stops.
- Check tank pressure: Locate the Schrader valve (similar to a tire valve) on the side or bottom of the tank, usually covered by a blue plastic cap. Use a low-pressure gauge (like a tire pressure gauge) to check the air pressure. An empty RO tank should typically read 7-8 PSI (pounds per square inch).
- Add air if needed: If the pressure is low, use a bicycle pump or an air compressor (carefully, in small increments) to inflate the bladder to 7-8 PSI. Be careful not to over-pressurize.
- Reassemble and test: Close the RO faucet, open the tank valve and then the cold water supply valve. Allow the tank to refill completely and then check the faucet pressure.
- Consider replacement: If you only get a cup or two of water at good pressure before it trickles, even after repressurizing, the internal bladder might be ruptured, and the tank will need to be replaced.
3. Inspect the RO Membrane
If filter and tank issues are ruled out, the RO membrane could be the problem.
- Consult manufacturer instructions: Replacing an RO membrane is a more involved process. Refer to your system’s manual for specific instructions.
- Turn off water and drain: Follow the steps to turn off water and drain the system as you would for filter changes.
- Replace membrane: Open the membrane housing, remove the old membrane, and insert the new one, ensuring it’s oriented correctly. Secure the housing.
- Flush the system: After replacement, it’s crucial to flush the system thoroughly, often requiring several tankfuls of water to be discarded, as new membranes can release carbon fines and preservatives.
- Check pressure: Allow the tank to refill and then assess the faucet pressure.
4. Look for Kinks or Blockages in Tubing
Visually inspect all the tubing connected to your RO system, from the supply line to the faucet.
- Straighten kinks: Gently straighten any visible kinks or bends in the tubing.
- Check for obstructions: Feel along the lines for any hard spots that might indicate a blockage. You might need to disconnect sections to inspect internally if you suspect an obstruction.
- Replace damaged tubing: If any tubing is cracked, crimped, or severely damaged, replace it with appropriate RO-grade tubing.
5. Test Incoming Water Pressure
If none of the above steps work, check the incoming water pressure to your RO system.
- Install a pressure gauge: You can install a water pressure gauge on a nearby cold water line to monitor your household’s water pressure.
- Consider a booster pump: If your home’s water pressure is consistently below 40 PSI, an RO booster pump can be installed to increase the pressure entering your water purifier, ensuring it operates efficiently.
6. Examine and Clean the RO Faucet
Finally, the issue might be directly at the point of use.
- Disassemble faucet: Carefully disassemble the RO faucet spout or aerator.
- Clean mineral deposits: Clean any visible mineral buildup or debris using a small brush or a descaling solution (like vinegar).
- Check flow restrictor: Some faucets have a small flow restrictor that can become clogged. Clean or replace it if necessary.
- Reassemble and test: Put the faucet back together and check the water flow.
Preventing Future Low Pressure Issues in Your Water Purifier
Maintaining consistent water pressure from your RO faucet largely depends on proactive maintenance. Regular care not only prevents frustrating low-flow issues but also extends the life of your entire RO water purifier system.
- Adhere to a filter replacement schedule: This is the single most important preventative measure. Mark your calendar or set reminders for changing pre-filters every 6-12 months and the RO membrane every 2-5 years, depending on your water quality and usage.
- Monitor tank pressure: Periodically (e.g., annually) check and adjust the air pressure in your RO storage tank.
- Inspect tubing regularly: During filter changes, take a moment to visually inspect all connecting tubing for kinks, cracks, or signs of wear.
- Keep faucet clean: Occasionally clean the spout and aerator of your RO faucet to prevent mineral buildup.
“Many users overlook the simple maintenance of replacing filters. A clogged filter acts like a dam, slowing everything down. It’s the most common and easiest fix for low RO water pressure.” – Dr. Emily Carter, Water Quality Expert
Conclusion
Low water pressure from your RO faucet can be an annoying inconvenience, but it’s rarely a sign of a catastrophic failure. By systematically checking and addressing common issues such as clogged filters, low storage tank pressure, or a fouled RO membrane, you can often restore your water purifier system to optimal flow yourself. Remember, consistent maintenance is key to preventing these problems and ensuring you always have access to a steady stream of clean, purified water. Don’t let a trickle disrupt your hydration; take action and enjoy the full benefits of your RO system. What steps will you take today to ensure your RO water purifier is performing its best?
Frequently Asked Questions
Why does my RO faucet only trickle for a few seconds then slow down?
This is a classic symptom of low air pressure in your RO storage tank or a ruptured tank bladder. The initial burst of water comes from the pressure that is there, but without sustained air pressure, the water cannot be pushed out effectively, leading to a quick reduction in flow.
How often should I change my RO filters and membrane?
Generally, sediment and carbon pre-filters should be changed every 6-12 months. The RO membrane, being a more robust component, typically lasts 2-5 years. However, these intervals can vary based on your local water quality and how much water your water purifier processes daily.
Can I increase my home’s water pressure for my RO system?
Yes, if your home’s incoming water pressure is consistently below 40 PSI, you can install an RO booster pump. This device increases the pressure of the water entering your RO water purifier, ensuring efficient filtration and better water production.
What PSI should an empty RO storage tank have?
An empty RO storage tank should ideally be pressurized to 7-8 PSI. This pressure helps to effectively push the purified water out of the tank and through your RO faucet. Use a low-pressure gauge to check and adjust it.
Is it normal for an RO system to produce some wastewater?
Yes, reverse osmosis is a filtration process that produces concentrate (wastewater) as it pushes water through the membrane. This is a normal part of the process, and the amount of wastewater varies by system efficiency (ratio of purified water to wastewater).